2.E.1: Weather App
Learning Objectives
Know how to send an HTTP request and handle response data in a frontend app
Know how to send an AJAX request and load response data in a React app
Know how to chain promises with multiple AJAX calls
Know how to read API documentation to use a new API
Introduction
We will build a weather app that shows the latest weather forecast for a city that a user enters.
Setup
Fork and clone the Rocket Academy Weather App Repo
Create an Open Weather account to access Open Weather's free weather API. After confirming your email you will receive an API key to use to make API requests. This can take up to 24 hours so please do this during pre-class.
Base: Show current weather for user-provided city
Instructions
Create an input field where users can input the city they would like to check the weather for. Provide instructions on the page so users know to enter a city name in the input.
When a user inputs a city name, use Open Weather's current weather data API to retrieve the weather in that city and display it to the user. The app should update the weather when the user inputs a new city or submits the same city again.
To install Axios to make requests, run
npm i axiosand import Axios from the relevant component.We will send GET requests because we are retrieving and not creating or updating any data.
Notice the API URL uses URL query parameters to customise the API call. We specify query parameters in key-value pairs separated by
=, where we separate each key-value pair with&.When developing with APIs, feel free to
console.logAPI responses to understand the format of the response before writing code logic. See below code example for an illustration.We will need to use Open Weather's geocoding API to translate location names to coordinates before querying the current weather data API. You may find it helpful to chain promises with
.thensyntax.To chain multiple asynchronous function calls with
.then, we can return the promises of the subsequent function calls in their.thencallbacks instead of creating a nested.then. See example below for illustration.
We may find it helpful to specify
metricunits for theunitsparameter of the API. This will return all temperature values in Celsius instead of Kelvin.Consider displaying the relevant icon next to the weather. Open Weather returns an icon code with weather info and we can retrieve the relevant icon using Open Weather's Icon URLs and an HTML
imgtag.
Making our API key public
By making API requests to Open Weather directly from our frontend app, we are effectively making our Open Weather API public because all frontend code is visible to users. This is discouraged in production apps because hackers can use our Open Weather account to make requests for free. We will learn how to build backend servers to hide sensitive data such as API keys in Module 3.
Example: console.log response to understand response format
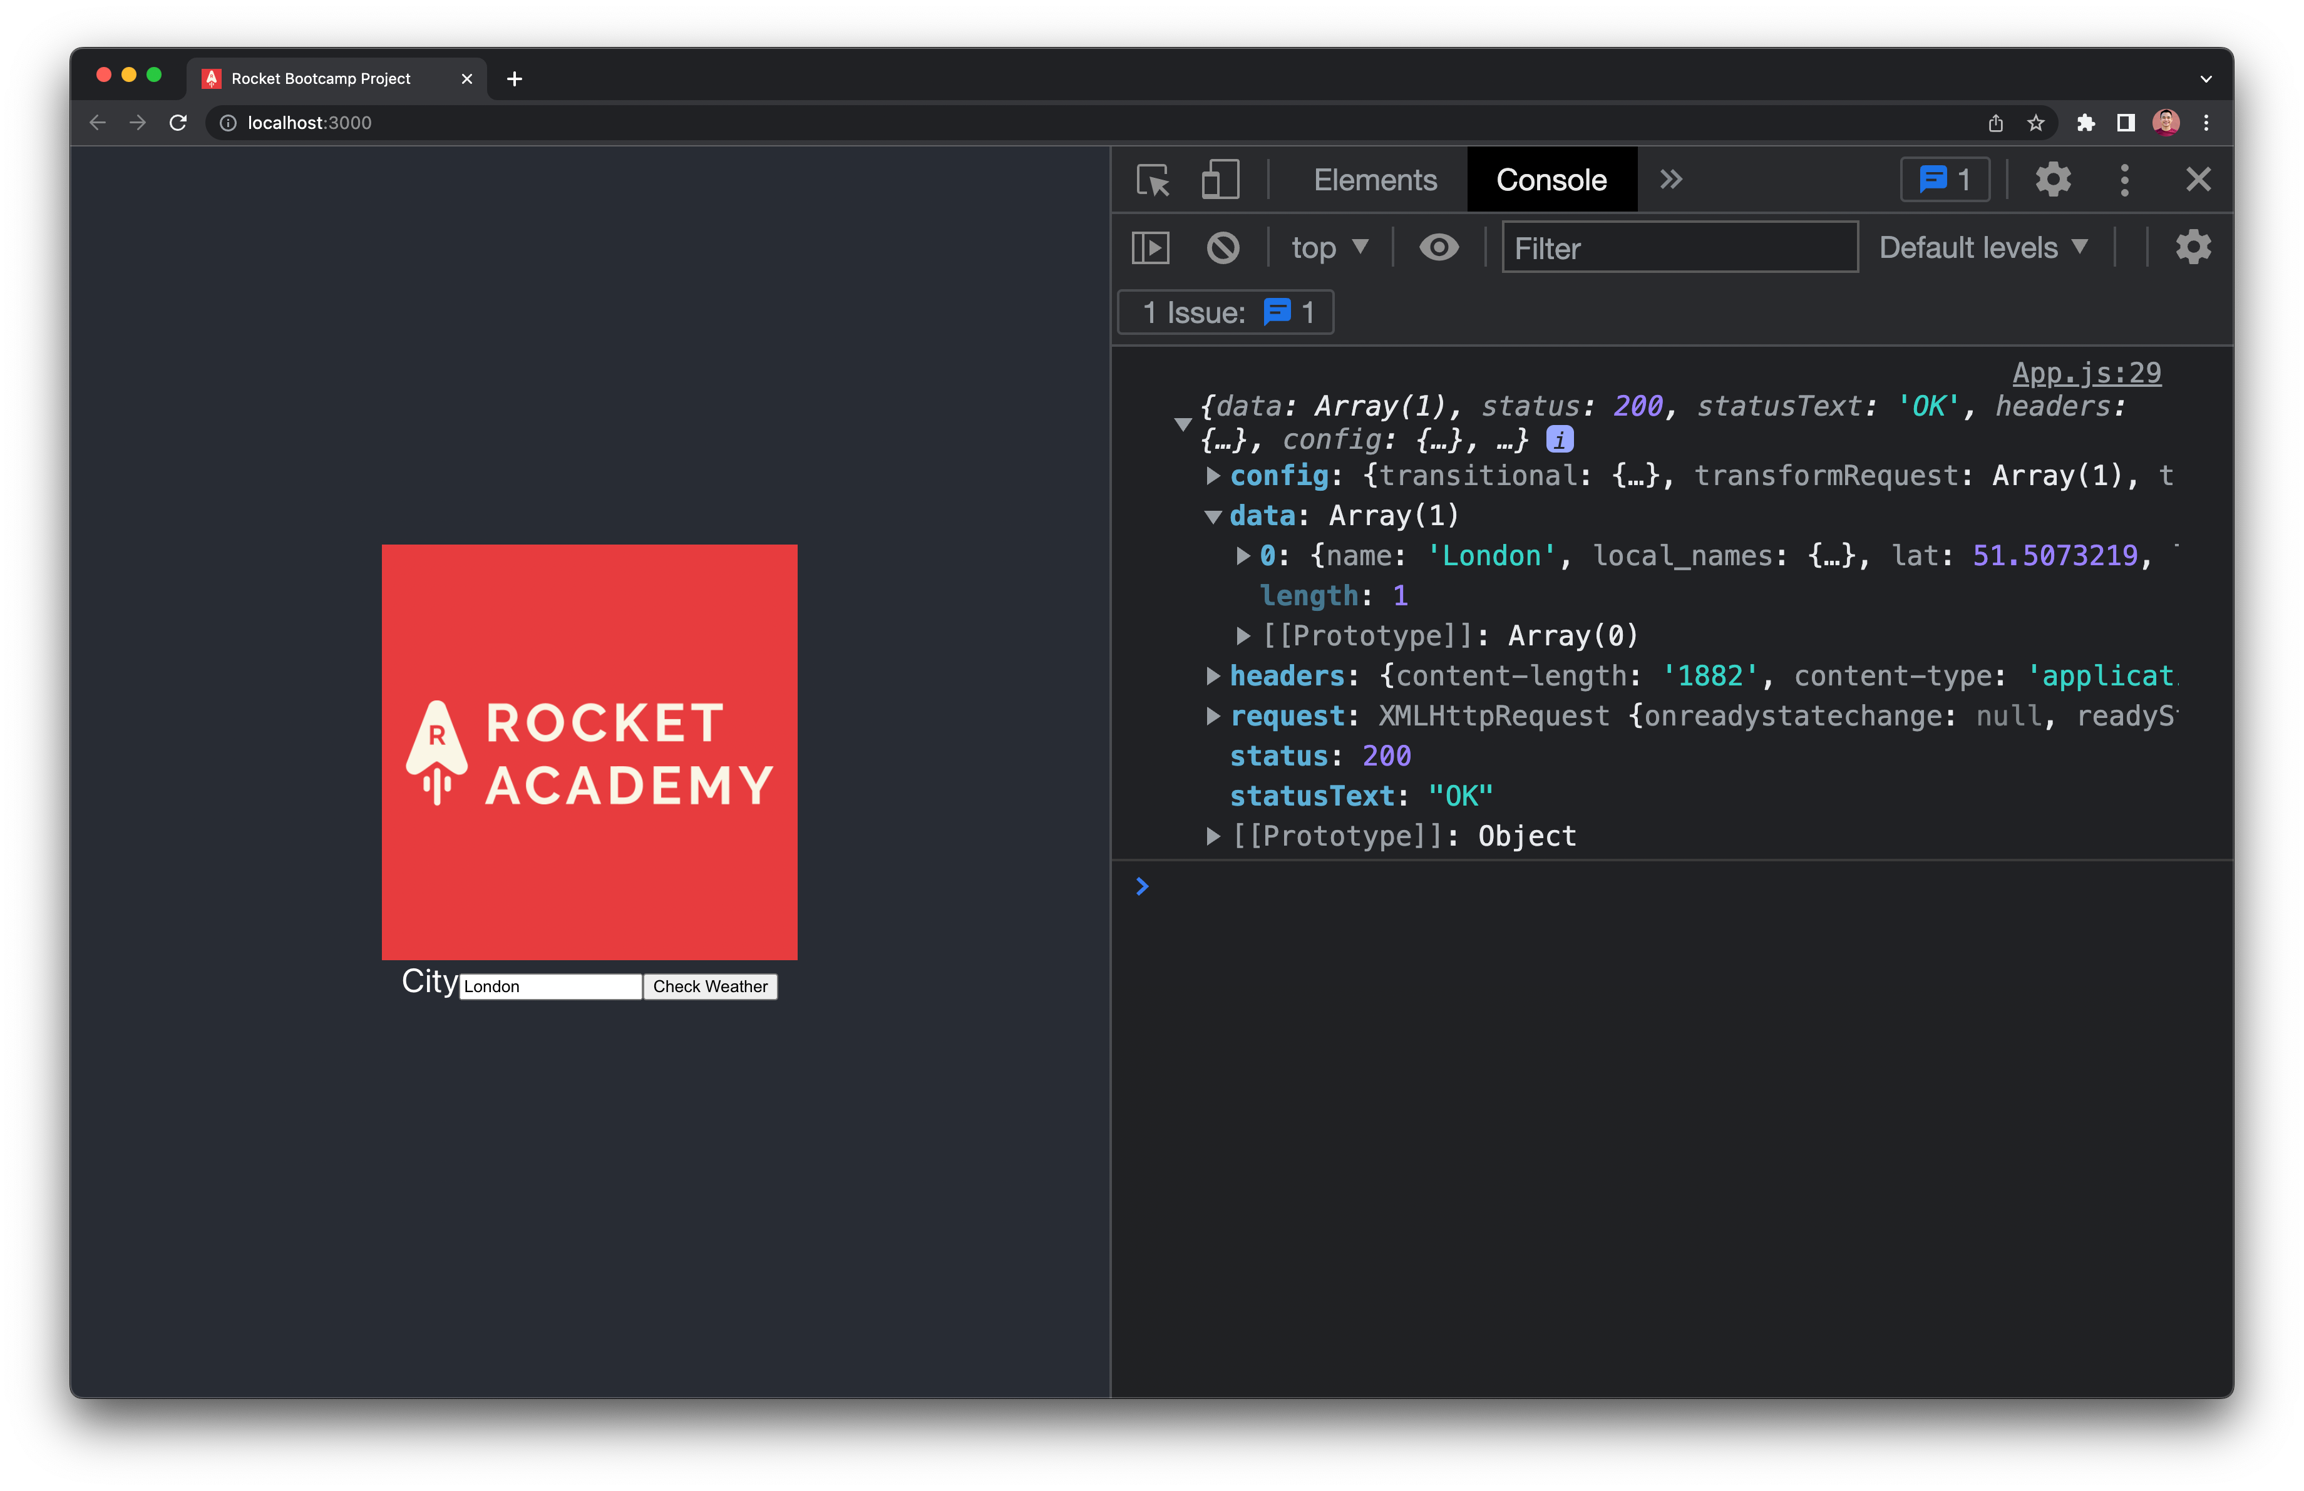
console.log response to understand response formatWe can console.log the response to the API request to understand its format before we try to parse data from the response.
The logging revealed that the data I want is in response.data[0].

console.log can help us reveal the format of an API response. Source: Rocket AcademyExample: Chain multiple Axios requests without nesting
Promise syntax is flexible, and there are preferred and less-preferred ways of handling promises. Rocket prefers we only have 1 level of nesting for chained promises for readability.
Bad
We should never need more than 1 level of nesting for .thens. This makes our code harder to read, because the .then execution flow becomes non-linear.
Good
We can return the promise returned by the 2nd axios.get in its .then callback, and obtain the result of that promise in the subsequent .then. This allows us to have only 1 level of nesting.
.then callbacks accept both values and promises as return values. If a previous .then callback returns a promise, the subsequent .then callback will receive that promise's resolved value as a parameter. Read more on .then behaviour in official docs.
Comfortable: Show hourly and daily forecasts for coming days
In addition to the current weather, display a daily forecast, represented by hourly data to the user in tables. You may find the Open Weather API documentation helpful.
More Comfortable: Show forecast data in a graph
Render the forecast data in a graph instead of a table. You may find React chart libraries like Recharts helpful.
Submission
Submit a pull request to the main branch of Rocket's Weather App repo and share your PR link in your section Slack channel.
If you would like to deploy your app to the internet, follow Vitejs GitHub Pages deployment instructions here.
Use HTTPS URLs for API requests for deployment
HTTPS sites can only make HTTPS requests and not HTTP requests. To deploy our app to GitHub Pages, update all API URLs in our app to use HTTPS instead of HTTP (i.e. https://myurl.com instead of http://myurl.com. Open Weather Geocoding and Weather Icons docs share HTTP links, but luckily they both also support HTTPS.
Reference Solution
Here is reference code and a reference deployment for this exercise. You can do better!
Last updated